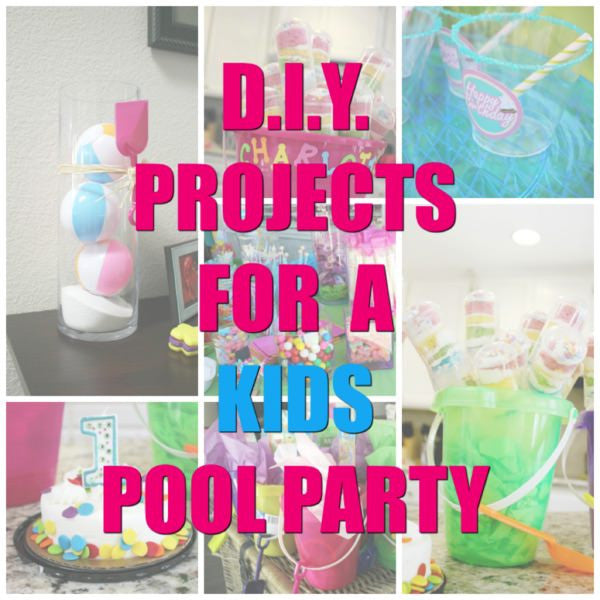
DIY Pool Party Ideas
This is a guest post by Cristen Casados, the founder and editor of The Bucket List Mom - a family travel blog; and The Naptime Reviewer - a parenting resource blog. She is a mom to two little girls, ages 2 and 5, who love explore the world. Cristen has been blogging since 2012. She has a passion for travel, great products and word-of-mouth marketing. She loves to help others find products and travel destinations that are a good fit for their family, in a variety of price ranges.

The weather is warming up and so is the pool water. You know what that means? Pool parties! Think outside the box and ‘wow’ your guests with these fun decorations and treats that are both easy on the pocketbook and easy to DIY.
I pulled these images from my first daughter's 1st birthday party. Her birthday is July 19th, so we tend to do pool-themed parties each year. This party was the only one that I truly went all-out for, so I'm excited to share it with you all.


1. Drink Umbrella Wreath
You’ll Need:
· 1 - Medium to large grapevine wreath
· A variety pack of paper drink umbrellas (preferably different sizes)
· 10 inches of the ribbon or string of your choice (twine or kite string works, too)
Instructions:
1. Prepare your drink umbrellas and open each one according to package directions (start with ¼ of the package then add more as needed)
2. Place the open drink umbrellas one-by-one into your grapevine wreath – no glue necessary.
3. Continue placing drink umbrellas around the wreath. Feel free to overlap and change up the sizes as your go around.
4. Attach your ribbon or string to the top and hang!
2. Beach in a Vase
You’ll Need:
· 1 - 14” Clear cylindrical vase (Tip: Find them at TJMaxx, Home Goods or thrift stores)
· 1 – Container of white sand from Dollar Tree or your local craft store
· Twine, straw or ribbon of your choice (for wrapping around the vase)
· 1 – Plastic shovel from a beach bucket (Dollar Tree)
· 3 – Inflatable mini beach balls (Oriental Trading)
Instructions:
1. Fill the bottom of the vase with the white sand.
2. Inflate your beach balls and place them on top of the sand.
3. Measure your vase circumference with your ribbon, twin or straw and tie in a loose knot.
4. Tuck your plastic shovel into the loose knot and pull tight.
3. Teddy Graham/Jell-O Swimming Pool Cups
You’ll Need:
· 12 – Mini SOLO cups (Dollar Tree)
· 1 to 2 – Boxes of blue Jell-O, prepared as directed
· 12 – Drink umbrellas (use the leftovers from your wreath)
· 12 – Gummy Lifesaver candies
· 12 – Teddy Grahams of your choice + extras for snacking
Instructions:
1. Prepare Jell-O as directed and fill each cup a little less than half way
2. Place Jell-O cups in refrigerator to chill until firm (Tip: Use a cupcake pan to hold your cups together)
3. While your Jell-O is firming, place your Gummy Lifesavers around your Teddy Grahams’ waists to resemble a life preserver.
4. Once your Jell-O cups are firm, place your prepared Teddy Grahams on top of the Jell-O. The Gummy Lifesaver and the Jell-O should create bond that will hold the Teddy in place.
5. Top with a drink umbrella and serve chilled.
4. Push-pop cupcakes
You’ll Need:
· 1 – Box of lemon cake mix + necessary ingredients
· 1 – Box of strawberry cake mix + necessary ingredients
· 2 – Boxes of white cake mix + necessary ingredients
· 2 – Tubs of vanilla or buttercream frosting
· Push-Up Pop containers (order from Amazon or find at your local baking store)
· Fancy sprinkles of your choice (we like stars or flowers)
· Neon green, pink, yellow and blue gel food coloring (find at your local baking store)
· Cookie sheets with sides
· 1 – Shot glass for cutting circles out
Instructions:
1. Prepare each box of cake mix as directed adding food coloring to each bowl (Pink = Strawberry; Yellow = Lemon, etc) and set aside.
2. While your oven is preheating, spray your cookie sheets with cooking spray.
3. Fill each cookie sheet halfway with cake batter and bake until done. Cooking times will vary so you will need to keep an eye on them. (Tip: Don’t overfill – you don’t want thick cake slices in your push-pops).
4. After the cake is done cooking, allow it to completely cool in the pan.
5. Using a standard shot glass (we like the disposable shot glasses because of the sharper edges), begin pulling circles out of your cake pan and set them aside.
6. Repeat steps 3-5 until all of your cake is cooked, cooled and cut.
7. Begin filling your push-pop containers with your cake circles adding frosting between each layer. (Tip: Use a pastry bag for easy frosting application)
8. For your last frosting layer, add the sprinkles of your choice and replace the push-pop container top.
9. Repeat steps 7-8 until you’re done. (Tip: Serve chilled in plastic beach buckets)
5. Sand Bucket Goodie Bags
You’ll Need:
· Beach buckets from Dollar Tree
· Goodies of your choice (Tip: We like silly straws, bracelets, bubbles, stickers, card games, sunglasses, etc.)
· Tissue Paper
Instructions:
1. Place tissue paper at the bottom of each bucket
2. Fill with goodies
3. Add a splash of color with more tissue paper on the top.
Leave a comment
Comments will be approved before showing up.
Also in Be the Trend...A Blog for Moms about Kids!


Customer Service
Company Info
Accepted Payments:
© 2024 Little Trendsetter. All Rights Reserved.